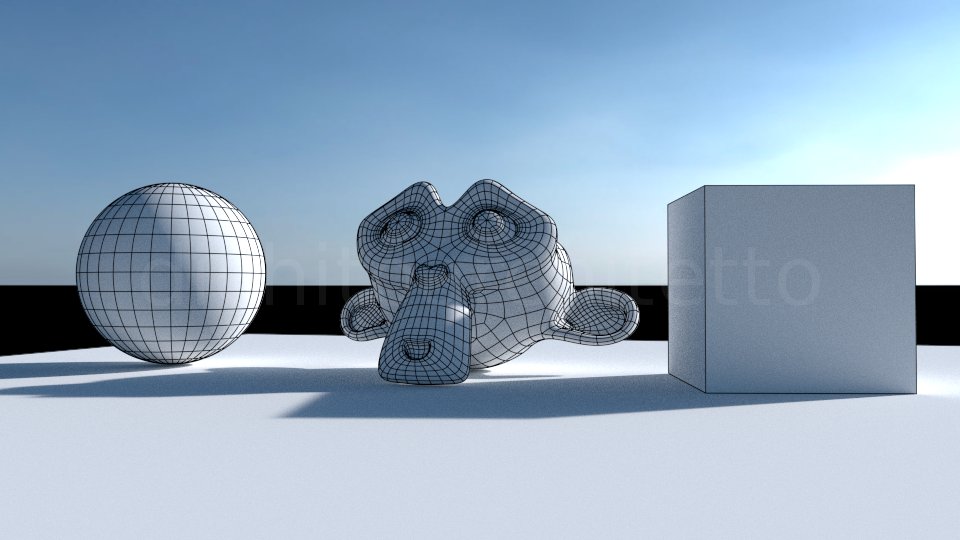
In this small tutorial we’ll create a “wireframe render“, a photorealistic image (rendering) with the 3d model structure (wireframe) overlay.
Let’s start with creating our scene, setting lights, materials, etc. In this tutorial we’ll use a very simple scene.

Open “user preferences” from “file” menu, select “addons” tab and type “freestyle” in search box (1); click to activate addon (2) and close “user preferences”; to activate the addon on every Blender start, click on “save user settings”.

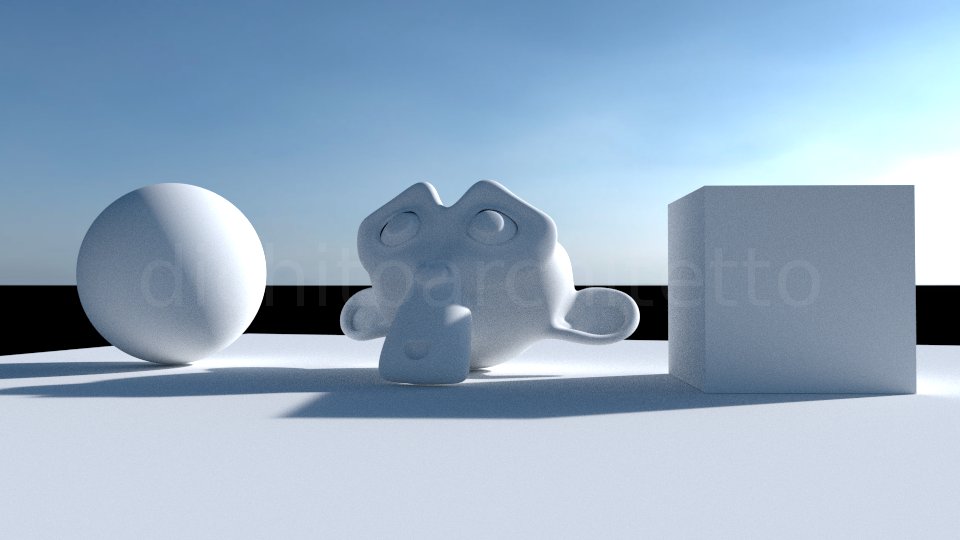
Click “F12” to start a render test:
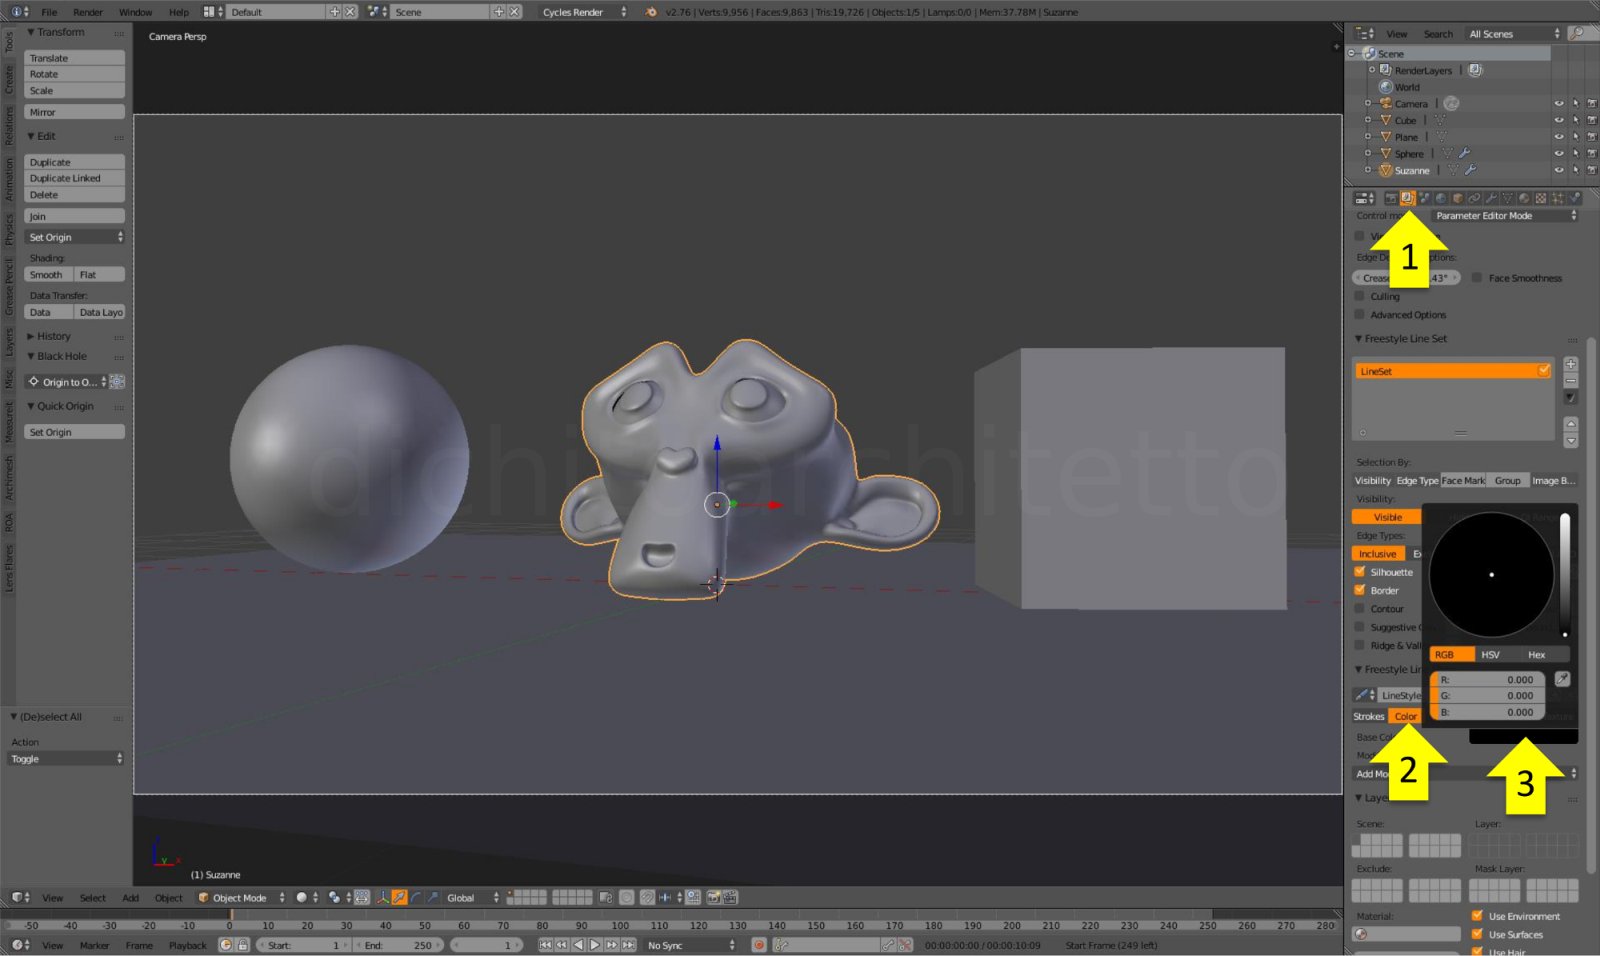
We’ve activated the addon, but we have to create its set up for the scene; select “render” panel (1) and click on “freestyle” (2).

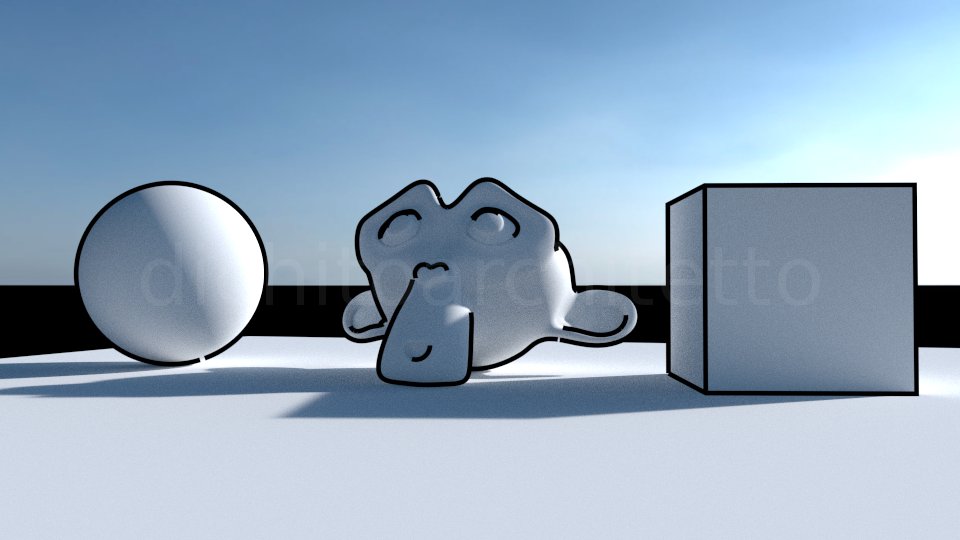
Click “F12” to start another render test.

We’ve created an image with black outlines (like a “cartoon style” image); lines thickness and color can be changed.
Go to “render layer” panel (1), “thickness” (2) and change the value (3) to change black outlines thickness.

Click “F12” to start another render test.
Go to “render layers” (1), “color” (2) and click on color box (3) to change black outlines color.
We’ve created a “cartoon style” image; how can we create a “wireframe render”?
First, we have to work on objects: select Suzanne (1), switch to “edit mode” and hit “Ctrl+E” on keyboard; select “mark freestyle edge” on menu (2); switch back to “object mode”.

Repeat for all objects in the scene (“MultiEdit” addon could be useful because it modifies, in “edit mode”, multiple objects at once; I suggest to use it with caution: eg. if objects have different modifiers, it could create problems).
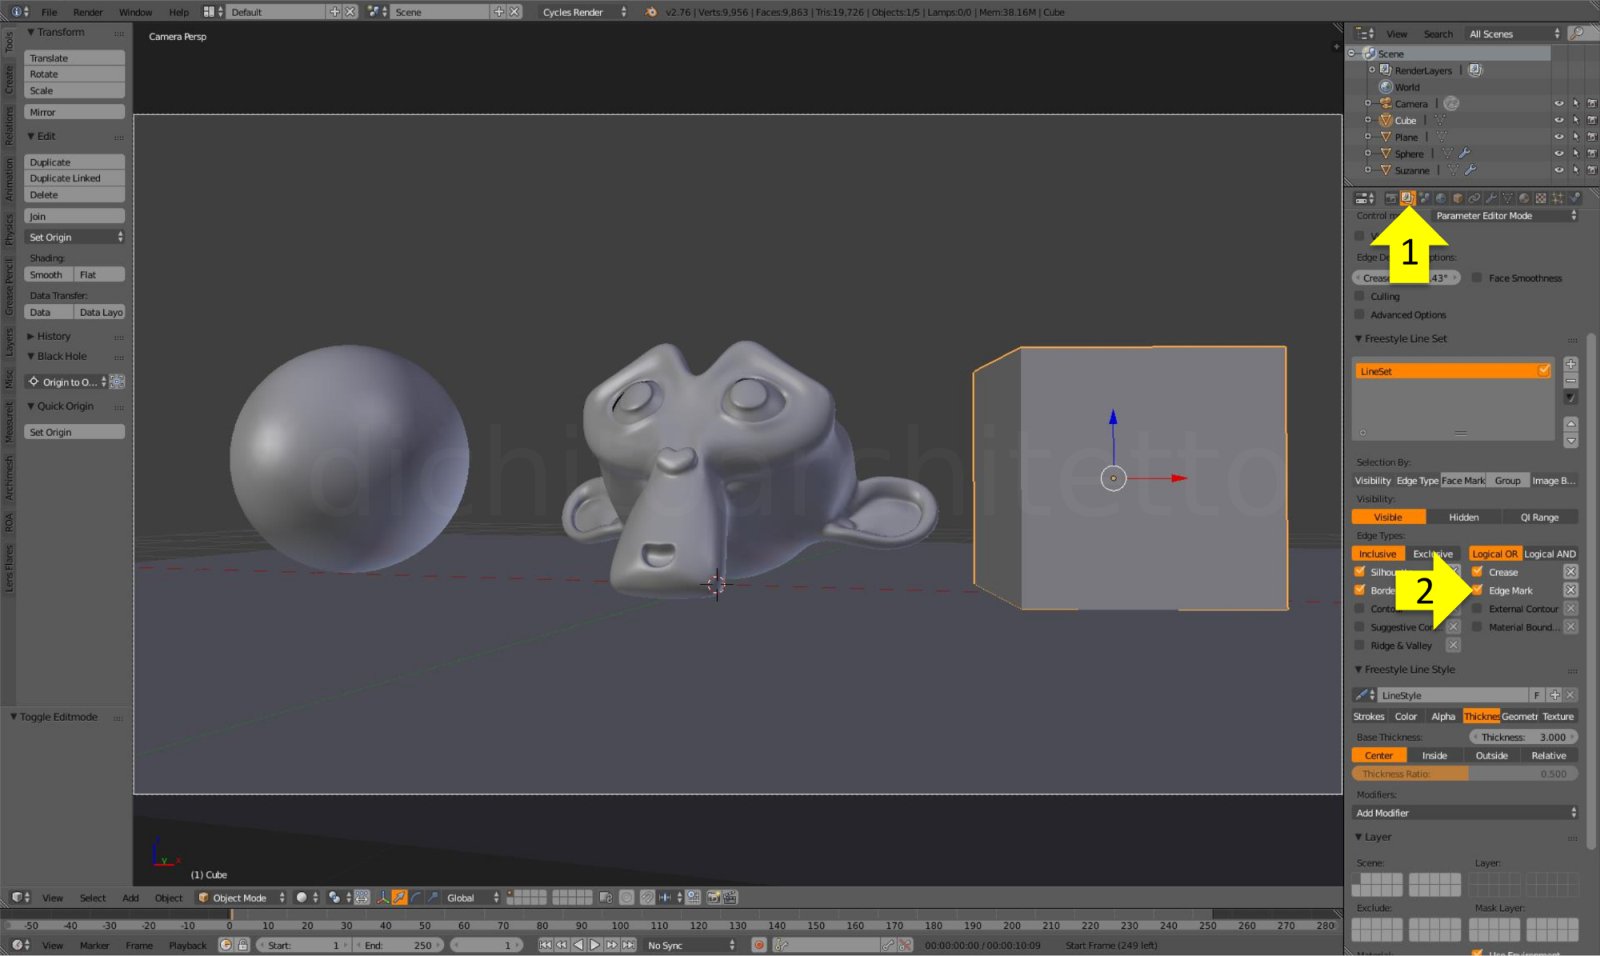
Last thing to do: go to “render layers” (1) and select “edge mark” (2).
Click “F12” to start final render and… ta-daaa!